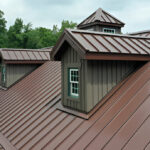
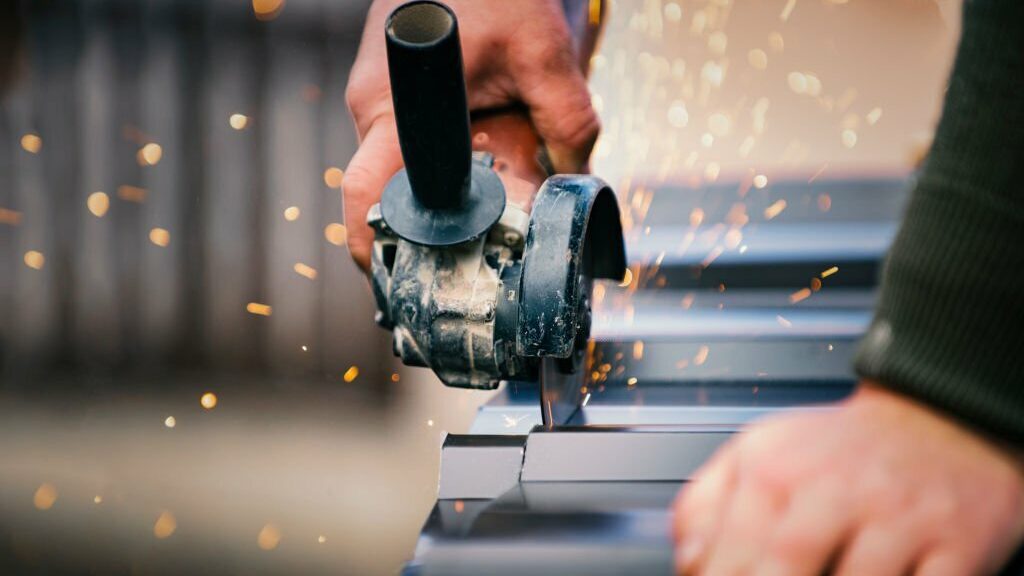
Consider upgrading your roof to something more durable. Metal roofing is a fantastic choice, especially the standing seam variety.
Table of Contents
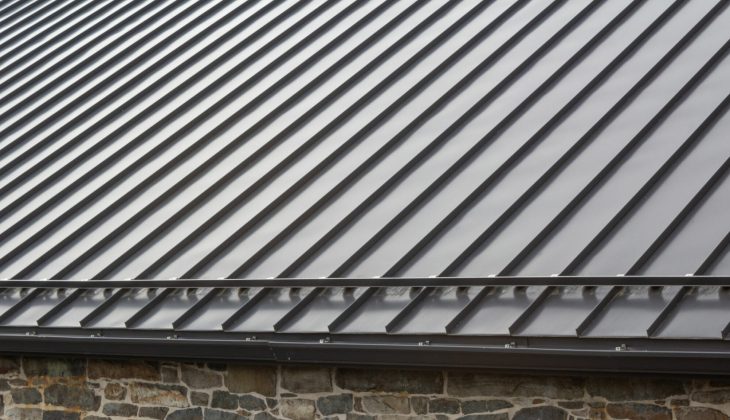
ToggleThis type of roof comprises metal panels that join together at raised seams. The space between these seams usually ranges from 12 to 24 inches, varying with the panel’s length. A unique feature of these panels is their attachment beneath the seams, allowing them to move slightly as your roof naturally expands and contracts with temperature changes.
One of the biggest perks? Your new metal roof could last up to 50 years!
This guide will walk you through the essential steps for a successful metal roofing installation.
Standing Seam Metal Roof Installation – Step by Step
Step-by-Step Metal Roof Installation:
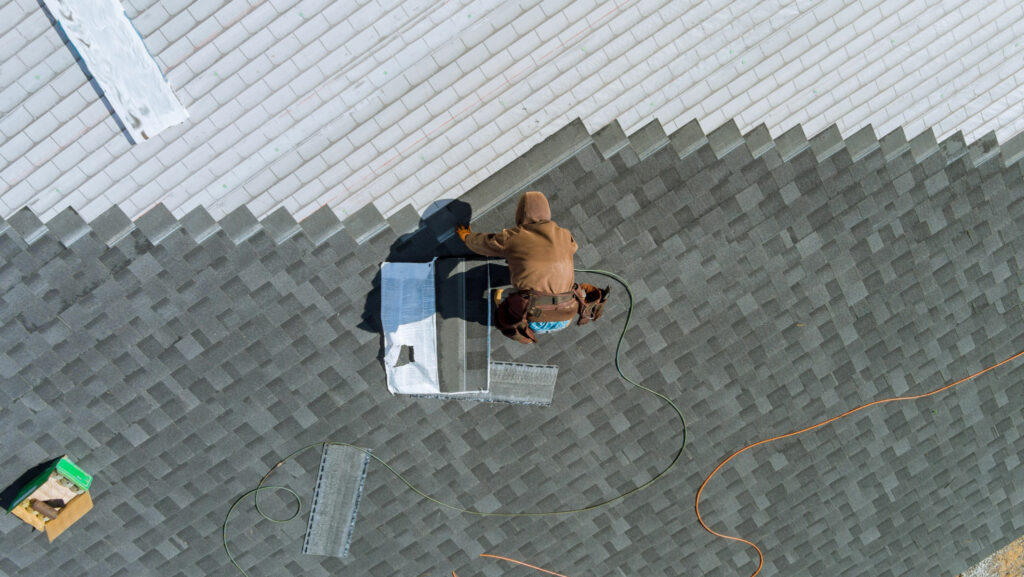
- Out with the Old: First, say goodbye to your old roof. A skilled team will carefully strip away outdated shingles and materials, ensuring your roof’s base is ready for its new upgrade.
- Securing the Edges: Now lock strips firmly land your new standing seam panels, preventing wild flapping when the wind gets aggressive. They are fitted snugly along the roof’s edges and match your panels’ color and durability.
- Underlayment Application: This layer, made of felt or synthetic, sits atop your roof deck. It is like a security blanket, offering extra protection. Metal roofs boast an ice and water shield, a must-have for keeping things dry.
- Panel Placement: Crafted from tough, 24-gauge pre-finished steel, they are sturdy and keep their color looking fresh. These panels link with the lock strips, creating a seamless, secure fit.
- Filling the Gaps with Flashing: It is time to introduce metal flashing after the panels are in place. This essential component, often a Z bar, installs into the gaps between panels, ensuring your roof’s longevity.
1. Metal Roof Material List
The following is the metal roofing material list:
- Roof Decking: The foundation for your metal roof.
- Starter Lock Strip: Ensures your panels stay secure, fighting against winds.
- Underlayment: For extra safety, your roof’s first defense is a layer above the decking.
- Metal Panels: Usually, these are 24 gauge steel sporting a paint job that lasts through time.
- Clips: These hold everything together.
- Z Bar: Metal flashing with a Z-twist.
- Ridge Capping: The crown of your roof, sitting proudly at the top.
2. Standing Seam Metal Roof Installation Cost
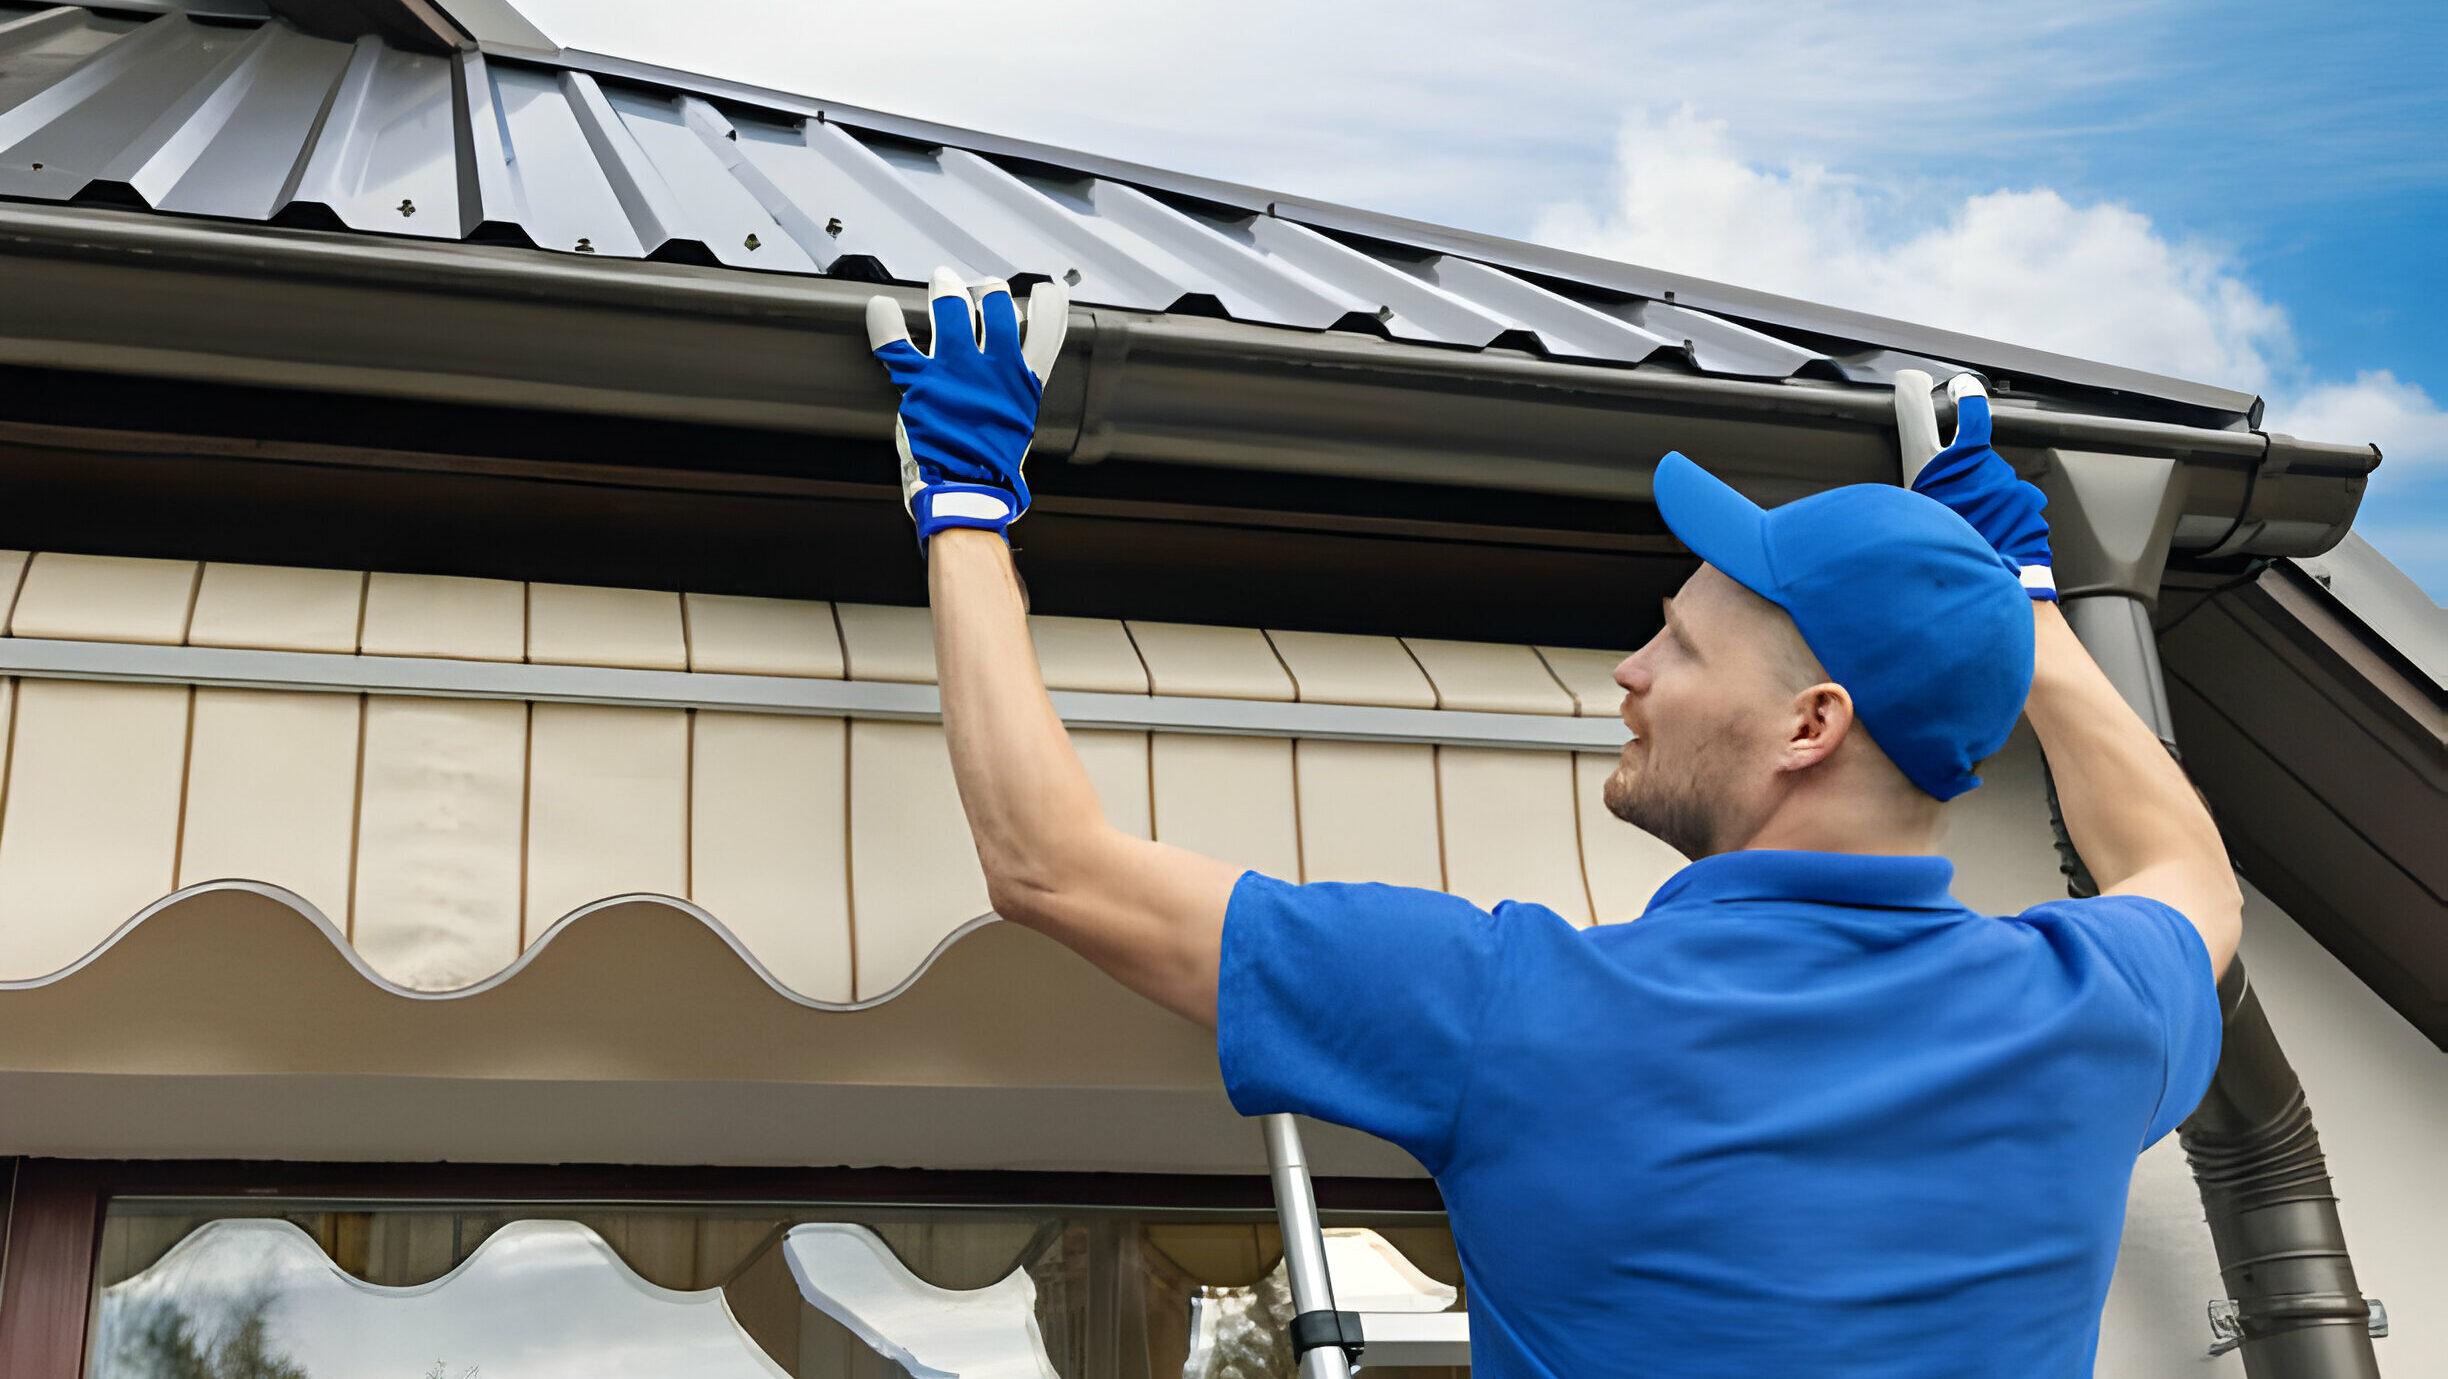
Investing in a standing seam metal roof, suitable for integrating gutters for metal roofs, usually costs between $24,000 and $42,000.
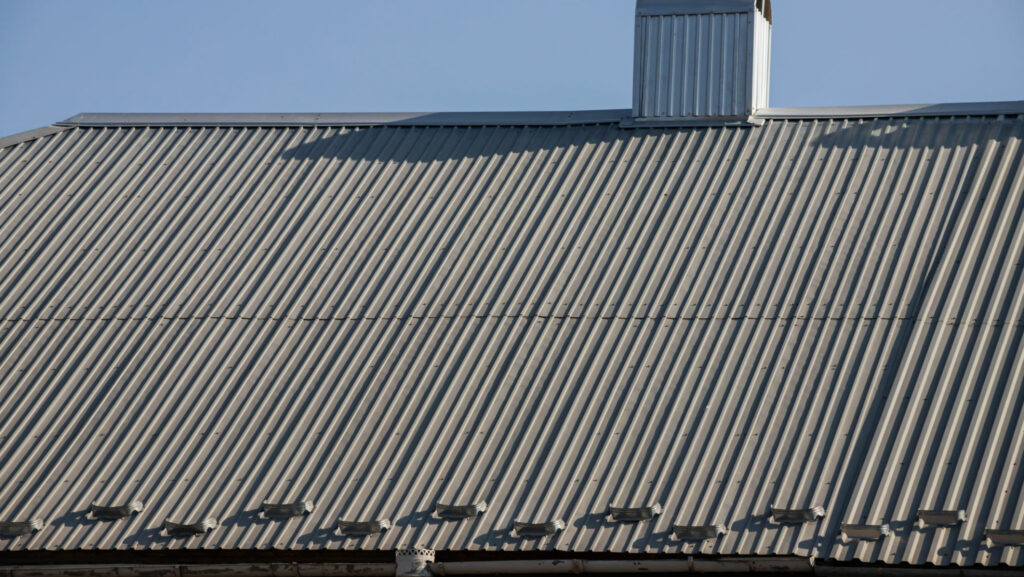
The price can change based on your roof’s size and shape. For a robust 24 gauge steel version, you might pay about $15 for each square foot.
If you are looking for a more budget-friendly option, consider corrugated panels. They are usually half the price of standing seam roofs and simpler to install, saving time and money.
| Roof Size (Square Feet) | Cost of Installation |
|---|---|
| 1000 | $7,540 to $39,430 |
| 2000 | $22,000 to more than $40,000 |
| 3000 | $24,000 and $42,000 |
| 4000 | $62,000–$72,600 |
3. Metal Roof Installation Mistakes
Here are the five most common mistakes made during metal roof installations:
1. Incorrect Measurements
Mismeasuring your roof is not just a minor hiccup—it’s a surefire way to derail your project and inflate costs. Get the measurements wrong and get stuck with panels that do not fit. The golden rule? Measure the actual site before you order any roofing or siding panels.
Refrain from basing your orders on plans or unfinished jobs to save time. It is a common trap leading to the need for more extended panels. Do you want a pro tip? Use a roofing calculator.
2. Incorrect Screw Fasteners
Opting for the wrong screws when setting up metal roofs is like inviting trouble. What if you pick any old screw, not the kind meant for metal roofs. What happens? Water starts sneaking in. This is a problem that weakens your roof over time.
The right way?
Use screws made just for metal roofs. These are not your average screws. They come with a special washer that acts like a raincoat, keeping water out.
3. Color Variability
When choosing metal roofing, consistency in color is vital, much like the standards upheld by roofing companies in Durham, NC. Yet, you might spot minor color differences in some budget-friendly roofing jobs.
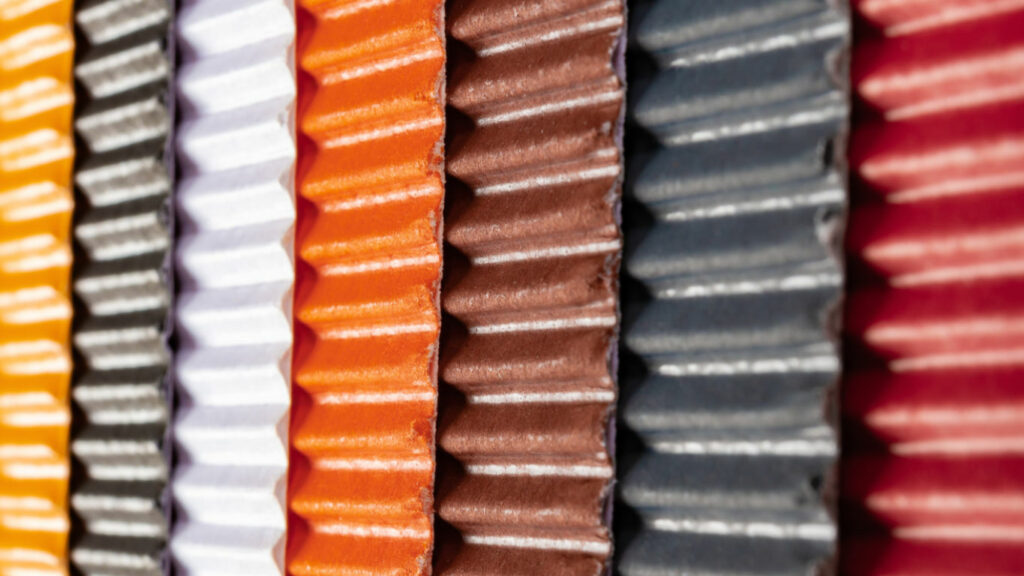
This issue often crops up when hiring low-cost roofing services. They sometimes need to catch the spot by mixing metal batches, leading to these color inconsistencies.
It is crucial to remember that the quality of installation and materials directly impacts the uniformity of your roof’s appearance.
4. Oil Canning
You might notice a wavy look in metal roofing, like ripples on a pond, especially on the flat parts. This is called oil canning.
It is a normal thing that happens because of how metal sheets are made.
Mostly, you will find oil canning in standing seam metal roofs or flat wall panels. Sometimes, it’s because screws are too tight or the clips holding the panels are not set right.
When putting in these clips, avoid pushing the seams out of place. Adding some ribbed patterns or lines (stiffening ribs or striations) to the metal can help keep the wavy look under control.
5. Overlapping the Panel in The Wrong Way
When it comes to metal roofing, it is all about getting the overlap just right. If the pieces do not fit properly, you will have gaps. And in roofing, gaps mean leaks. The trick is to match the overlap to your roof’s angle.
The steeper the roof, the less overlap you need. Roofing experts usually have tips on how much to overlap.
4. How Long Does it take to install a Standing Seam Metal Roof
Putting up a metal roof with standing seams is a task that varies in time. It can be as quick as two days or stretch up to a week, sometimes even three weeks, for big projects like commercial buildings or large houses. The duration depends on several elements:
- The roof’s total area.
- The complexity of the roof’s design.
- The number of people working on the roof.
- The weather’s mood swings.
Setting up this kind of roof for an average home generally wraps up within a week. Yet, larger projects demand more time, often two to three weeks.
How To Install Standing Seam Metal Roof FAQs
Can You Walk On A Standing Seam Metal Roof?
Yes, A standing seam metal roof is sturdy enough for walking. Just step carefully to avoid any slips.
How do you install a Snap Lock standing seam metal roof?
Snap lock standing seam roofs are installed by connecting panels that snap together. It is a process that does not require special tools, making it more straightforward.
How Metal Roofs Are Installed?
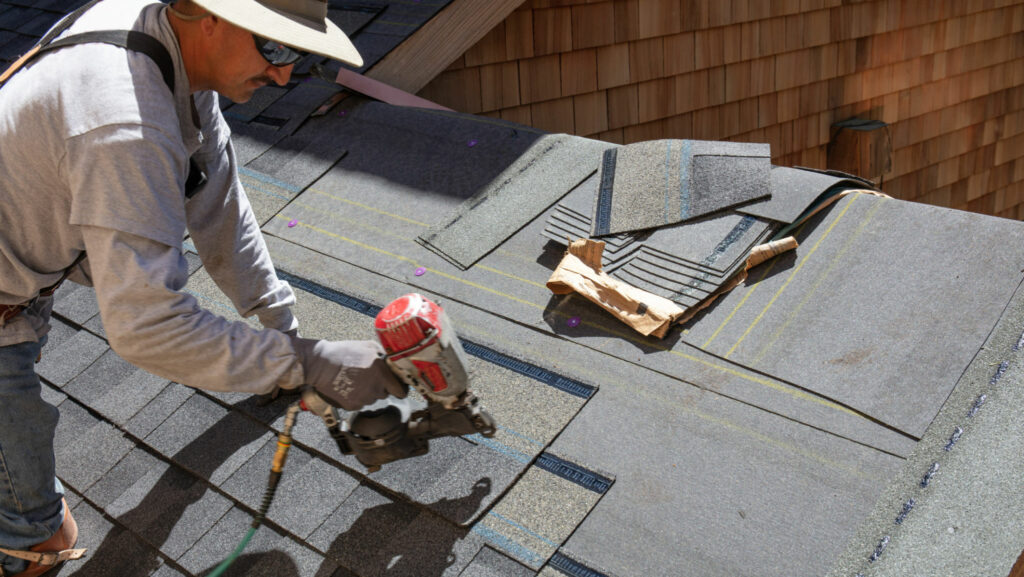
Metal roofs are installed by laying panels over the roof structure and securing them in place, either by interlocking them or using screws, depending on the type.
What is the difference between a standing seam and a screw-down metal roof?
The critical difference is in the installation: standing seam roofs have concealed fasteners, offering a sleek look, while screw-down metal roofs have exposed screws, impacting their appearance and maintenance.
Conclusion
Installing a standing seam metal roof is a valuable investment for your home or commercial property. This guide has walked you through the essential steps, from choosing the suitable materials to the final touches.
Remember, the key to a successful installation lies in careful planning, attention to detail, and dedication to safety protocols.
While the process can vary in duration, from a few days to a couple of weeks, depending on the size and complexity of your project, the outcome is a durable, weather-resistant, and aesthetically pleasing roof.

