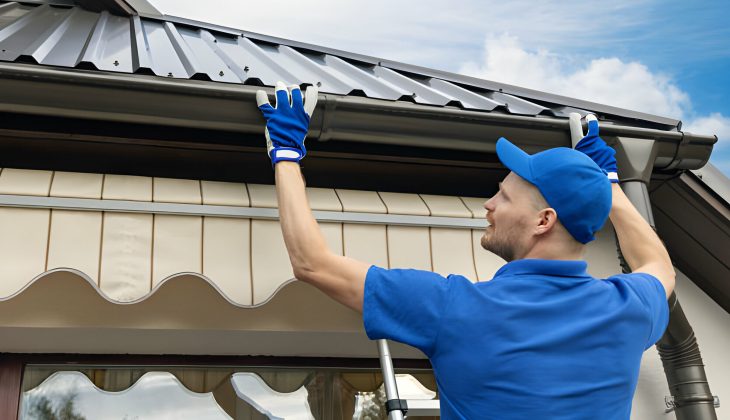
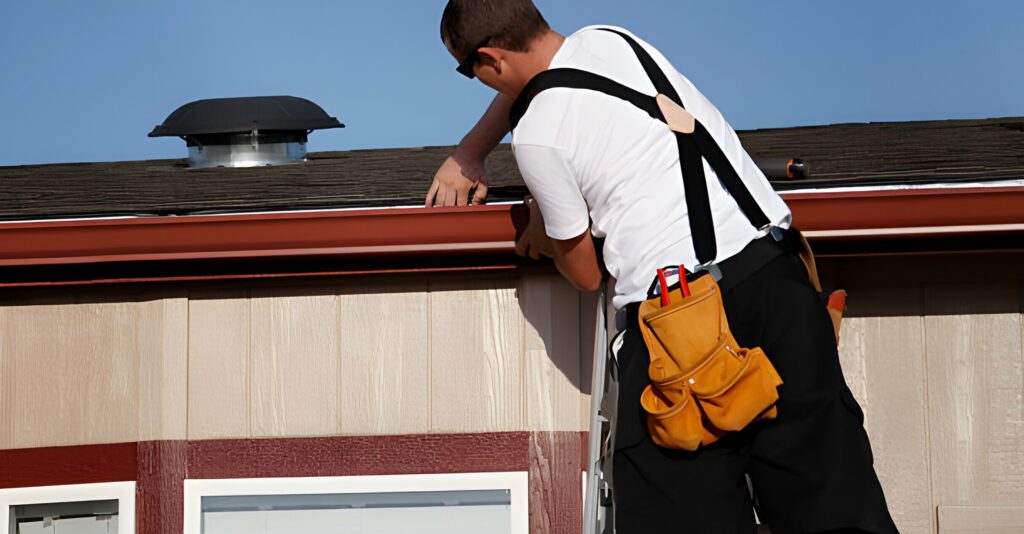
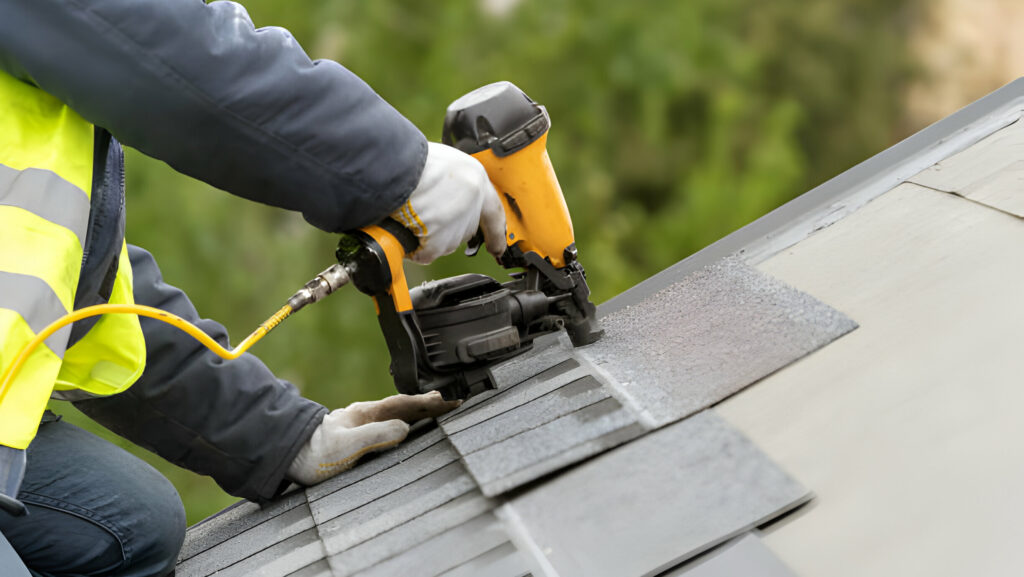
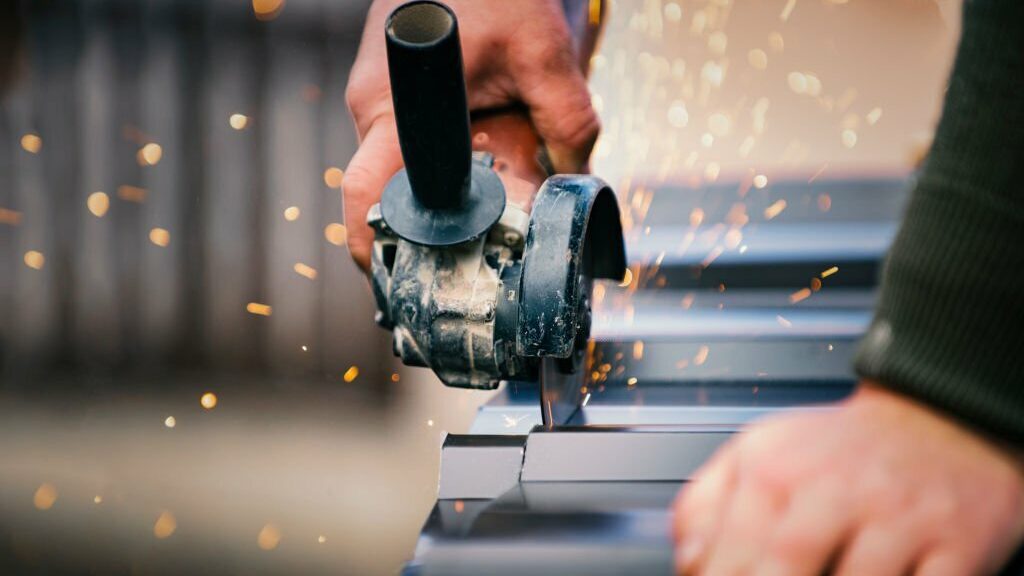
Learning how to install metal roof gutters is an essential part of house maintenance that everyone should know, whether they are experienced homeowners or first-time buyers. Gutters protect your house from water damage and support the maintenance of its structural integrity.
Table of Contents
ToggleMarking and measuring your gutter run is the first step in installing metal roof gutters. Install the new gutters together after cutting the gutters to the proper length and fastening the brackets. Ensure the right drainage slope and install downspouts.
But where do you begin with so many different gutter styles and materials available?
You can install your metal roofing gutters confidently if you follow our detailed guide, which will take you through the entire installation process.
Installing Gutters On Metal Roof
Metal roofs, with their sleek style and durability, are a popular choice for many homeowners. But when it comes to drainage, things can get a little tricky.
Unlike traditional asphalt roofs, metal roofs require special considerations for gutter installation, especially when selecting the best gutters for a metal roof.
Metal roofing is different because they are made of corrugated sheets that overlap each other and are held in place by screws. Therefore, gutters installation on metal roofs is more challenging as compared to other traditional roofs.
This guide will equip you with the knowledge and confidence to tackle this project like a professional.
Installing gutters on a metal roof can help you control a variety of different issues caused by water, including:
- Keeping excess water away from your home’s foundation helps prevent cracks.
- Helping to prevent erosion to the sides of and siding on your home.
- Preventing water from seeping into basements, crawl space, etc.
- Directing water away from the home that can cause mold, mildew, and other unwanted growth.
How To Attach Gutter To Metal Roof
Although installing metal roof gutters might appear difficult at first, it is a process you can complete with the appropriate planning and gutter installation knowledge.
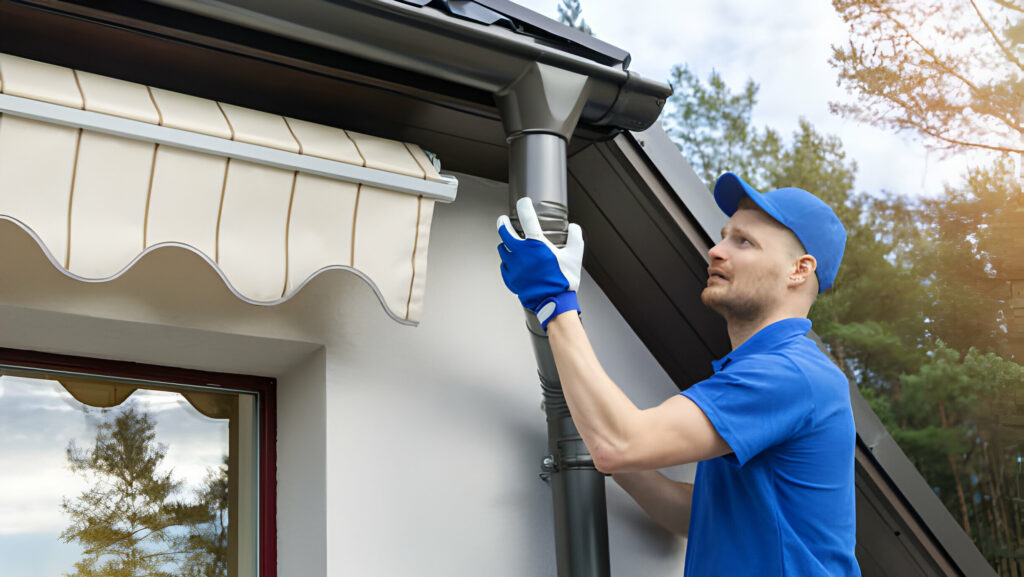
- Begin by selecting the gutter type that best meets your needs and gathering all required materials and tools.
- Measure and mark the gutter run at the beginning then cut the gutters to the appropriate length.
- Install the gutters after firmly fastening the gutter brackets. Install downspouts where they are needed for efficient water channeling.
- Make sure the installation is sloped properly for optimal drainage, and check it for leaks or other problems.
1. Plan & Preparation
Make sure to plan and prepare like an expert before taking on your metal roof gutters!
To ensure ideal drainage, which is crucial especially when considering the lowest slope for a metal roof, first measure and plan your roofline, deciding on gutter size and downspout location.
For metal roofs, choose for premium seamless gutters with specific fasteners. Prepare your protective equipment and gather your instruments.
Remember that fascia brackets are essential! Install them according to the manufacturer’s directions since they attach to the fascia board rather than the roof deck.
2. Brackets & Flashing
Brackets and flashing are important components for gutter installation on metal roofs because they help with water management and security.
Forget about using the typical roof deck attachment; unique fascia brackets are essential, especially when installing a standing seam metal roof. These tough anchors guarantee a solid hold that will damage the integrity of your metal roof by fastening the gutters straight to the fascia board.
Consider installing drip edge flashing along the fascia board for additional protection. This metal sheet is set to direct water away from the board, keeping it long-lasting and avoiding decay.
3. Hang the Gutters
Hang the cut gutters on a metal top into the brackets and secure them using screws.
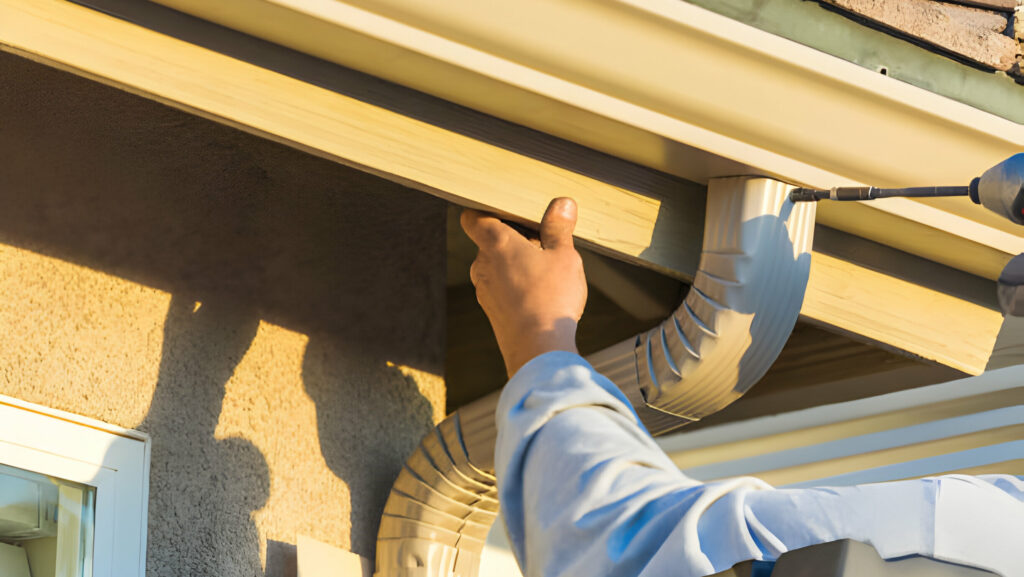
Make sure the fit is tight and stable. To avoid deforming the gutters, take care not to overtighten the screws.
4. End Caps & Sealing
When your metal roof gutters are hung, it is time to cap and seal for a watertight finish.
End caps come in left and right versions, so identify them accordingly. Fill the inside cavity with sealant for extra protection, then snap the cap on and secure it with screws.
Don’t forget an extra bead of sealant at the seam for good measure! Use sealing throughout the process. Apply sealant around bracket connections, gutter seams, and downspout joints. Choose a high-quality, metal-roof-specific sealant for superior adhesion and weather resistance.
Even small gaps can lead to big leaks, so be thorough and meticulous with your sealing! By capping and sealing properly, you will ensure your metal roof gutter system is a rain-defying champion, protecting your home for years to come.
5. Downspout Decisions
Installing gutters on a metal roof requires careful downspout decisions, especially if considering a project like adding a metal roof over a mobile home.
Consider spacing them every 30-40 feet, aiming for good drainage away from the foundation, using splash blocks to prevent erosion, and opting for larger sizes to handle the concentrated flow from metal roofs.
Remember, more downspouts are better than risking overflow and potential damage.
6. Connect & Extend
Connecting and extending gutters on a metal roof involves using specialized techniques due to the material’s slickness and expansion/contraction.
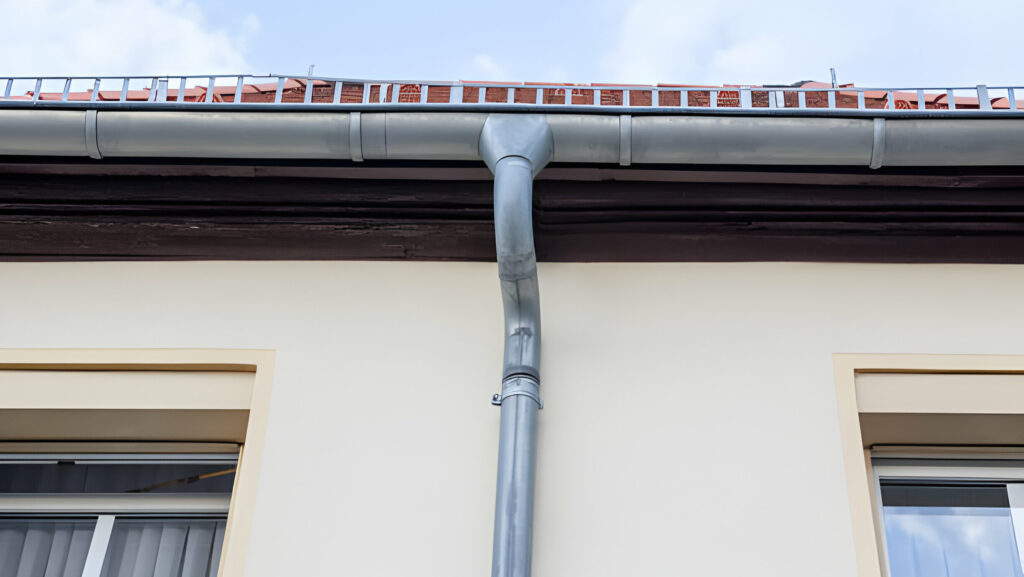
Connecting two gutter sections usually involves overlapping them with a gutter splice, sealed with silicone and secured by screws.
Extending the gutter typically requires cutting the metal roof carefully to fit the new section, using specialized flashing to create a watertight seal around the cut, and then attaching the gutter with appropriate brackets or hangers.
Remember, professional help is always recommended when dealing with metal roofs to ensure proper installation and safety.
7. Test & Winterize
Installing gutters on a metal roof needs testing and winterizing to ensure proper water flow and prevent damage.
Testing involves checking for leaks, proper slope, and securing fasteners before winter hits.
Winterizing includes installing leaf guards, heating cables for areas prone to ice dams, and ensuring downspouts extend far enough away from the foundation to prevent ice buildup.
Install Gutters On A Metal Roof FAQs
What tools are required for installing gutters for metal roofs?
For metal roof gutters, you are required safety gear (ladder, gloves, fall arrest), cutting tools (tin snips, power drill), and fastening tools (screwdriver, pop rivet gun) to ensure a secure and leak-proof installation.
What type of gutters are best for a metal roof?
Aluminum gutters are the best choice for seamless gutters. They are waterproof, resistant to rust and corrosion, and lightweight, so they will not put excessive pressure on your metal roof. This material is very easy to paint, so you can easily match it to the decoration of your home.
What size gutters should be on a metal roof?
For most metal roofs, a minimum gutter size of 6 inches is recommended. If your area experiences heavy rain, upgrading to a 7-inch gutter might be wise to ensure proper drainage.
Conclusion
From planning and measuring to capping and sealing, this guide has equipped you with the knowledge to tackle installing gutters on your metal roof like a professional.
With a little planning, the right tools, and these steps in mind, you can install gutters on your metal roof and can ensure your home is well-protected from the elements for years to come.

